


Share to:
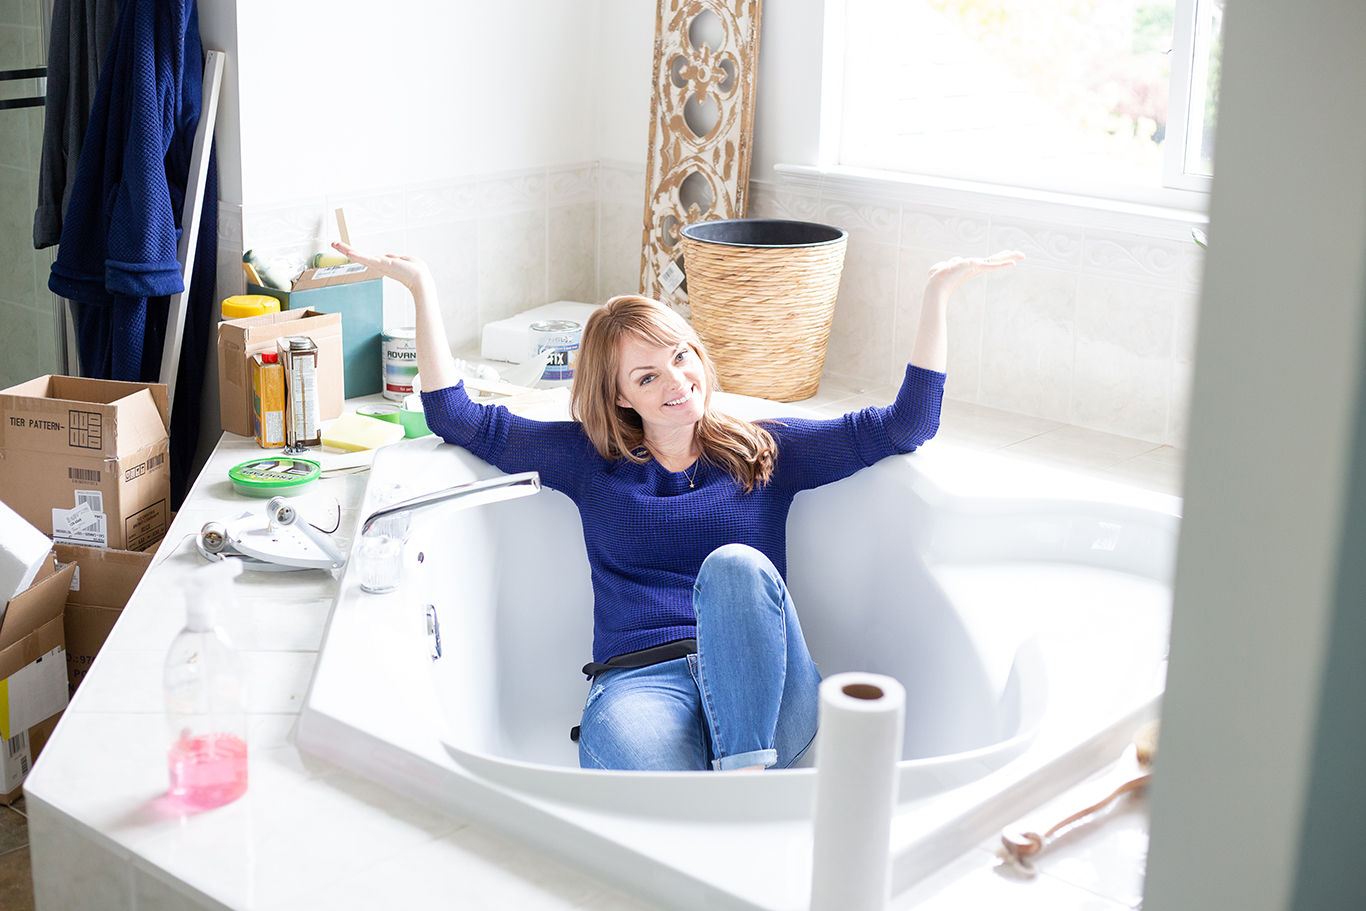
After Covid cancelled my 40th birthday trip as a self-soothing exercise, I decided to attempt a DIY update of our master bathroom.

Here’s the thing, I’m more a learn on the fly/ figure it out as I go type of lady, definitely no Chip Gaines. An actual contractor would likely walk in and cringe at my handiwork.
I, however, feel super proud that with my limited skills and on a relatively small budget, I managed to infuse my personality into our outdated bathroom.

Bathroom Update & Paint Colours
- Primed, painted and sealed existing cabinets.
Colour, Benjamin Moore, Polished Slate. - Spray painted existing bathroom hardware.
Rustoleum, Matte Black. - Primed, painted and sealed existing countertop.
Colour, Benjamin Moore, Cloud White. - Framed the builder’s grade mirror with a 3/4″ wood frame.
Colour, A very light wash of Saman, Colonial (205) wood stain. - Added two floating shelves in the same stain as the mirror frame.
- Purchasing two new lights from Wayfair.
Total Reno Cost Approximately: $400
Inspiration Stikes
The primary bedroom and bathroom are my sanctuary, where I come to write, hide from my family and hear myself think. The goal was to create a spa-like space that compliments the bedroom, which is painted in Benjamin Moore, Wedgewood Grey, and has black and white finishes.

Learning on the Fly
Part of me wants just to say, “If I can do it, so can you,” but what fun is life without sharing some of the embarrassing learning opportunities we encountered along the way?
For example
When we found our perfect colour, Maddie and I got carried away (anyone else find painting oddly relaxing? 🤣) and started painting more than just sample swatches on the cabinets.

The next day, I realized we could scratch the paint off with our nails. So I had to sand that paint off and then prime and paint the cupboards again. Who loves extra work? Apparently this guy 👇🏻

What Not to Do When DIY-ing Your Bathroom
In the hopes of saving you some time and suffering, here is the highlight reel of what not to do.
Don’t expect the HGTV grand reveal
I constantly felt like I was “doing it wrong” because it was taking so long. I blame HGTV for making everything look so easy and fast. Trying to fit in the different steps and learning what to do around family life meant my “quick update” ended up taking several weeks and that’s okay!
Don’t skip getting colour samples
When you’re trying to keep costs low, spending $10 per sample feels tough but it’s way better than later regretting your colour choices.
I learned this lesson the hard way when we painted half of the outside of our house an awful colour of blue and had to repaint it, more on that later.
Don’t try to save money by painting the cabinets with samples of paint
To look professional, bathroom cupboards should have a high sheen. The samples of paint are eggshell finish.
Don’t skip steps
Don’t get overly excited and start painting your cabinets without priming or sanding the current finish. The paint won’t stick to the cabinets and your project will look like garbage after a few months.
Don’t rush the process
The primer should be allowed to dry for 24 hours before painting. Dry each coat of paint for at least 3-6 hours before doing the second coat.
It can take a week or two for the paint to fully cure. It’s best if you aren’t showering or using the sinks while the paint is curing. We showered elsewhere for a week.

Don’t allow too much time between coats of paint
Painting the bathroom countertop took me five coats of paint (at least two too many) because I’d do a coat and then not get back to the project for several days and we’d muck up the paint. Try and get your countertops sealed as soon as possible to save yourself the extra work.
Bonus Tip: Beware of Mother Nature
It was a warm dry day so I sprayed the hardware outside and then left everything on the grass to dry. When I came back the pieces were covered in little flies. Bah! Cue redo.

Stop Dreaming, Start Doing
I’m still dreaming of a professional renovation to create the marble palace of my dreams but just in case that day never comes I wanted to start enjoying this space now.
And sometimes a cheap and cheerful bathroom update is just what you need to distract you from life’s disappointments.
Are you a diy-er or more of a call the contractor type?
X X
C
*Full Disclosure: I have not graduated to power tools or electrical work (maybe one day.) I had an extremely talented and generous neighbour who only charged me $40 to do the mirror frame and floating shelves and my girlfriend who is an electrition wired the lights for me. Thanks, Terry and Alexis 😘
I love how how you do and then “re”do…and include your children…great life lessons!